CELEBRATE
AUTUMN!
~ MAKE
A BUNCH OF BRIGHT PAPER FLOWERS

This craft is easy, effective and great to do with children.
It enhances:
·
Fine-motor development
·
Sensory perception (children love the different
textures of the materials used)
·
Creativity
·
Colour recognition,
·
Learning the names and structures of the different
flowers (a mini-biology lesson!), and
·
…it will help to build positive relationships while
sharing a hobby!
YOU
WILL NEED:
·
Tissue paper in different pastel colours for the
petals
·
Crepe paper in green for the leaves· Pipe cleaners for the stems (green)
·
Floral tape
·
Pinking shears
WHAT TO DO:
1. Chrysanthemums:
·
Cut out five 10cm squares of tissue paper; stack,
and fold into quarters. Draw petal shapes along the two folded edges. Cut out
shapes, and unfold.
·
Bend one end of a pipe cleaner to form a round nub.
Use the other end to pierce a hole in the centre of the stack of petals; pull
it through to form a stem.
·
At the flower base, scrunch the petals closed so
they resemble a loose pom-pom. Wrap floral tape around the bottom inch of the
flower's base and down the stem. Pull the layers of petals apart.
2. Carnations:
·
Cut out five 10cm squares of tissue paper; stack,
and fold into quarters. Draw a quarter circle along the two folded edges. Cut
out shapes with pinking shears; unfold.
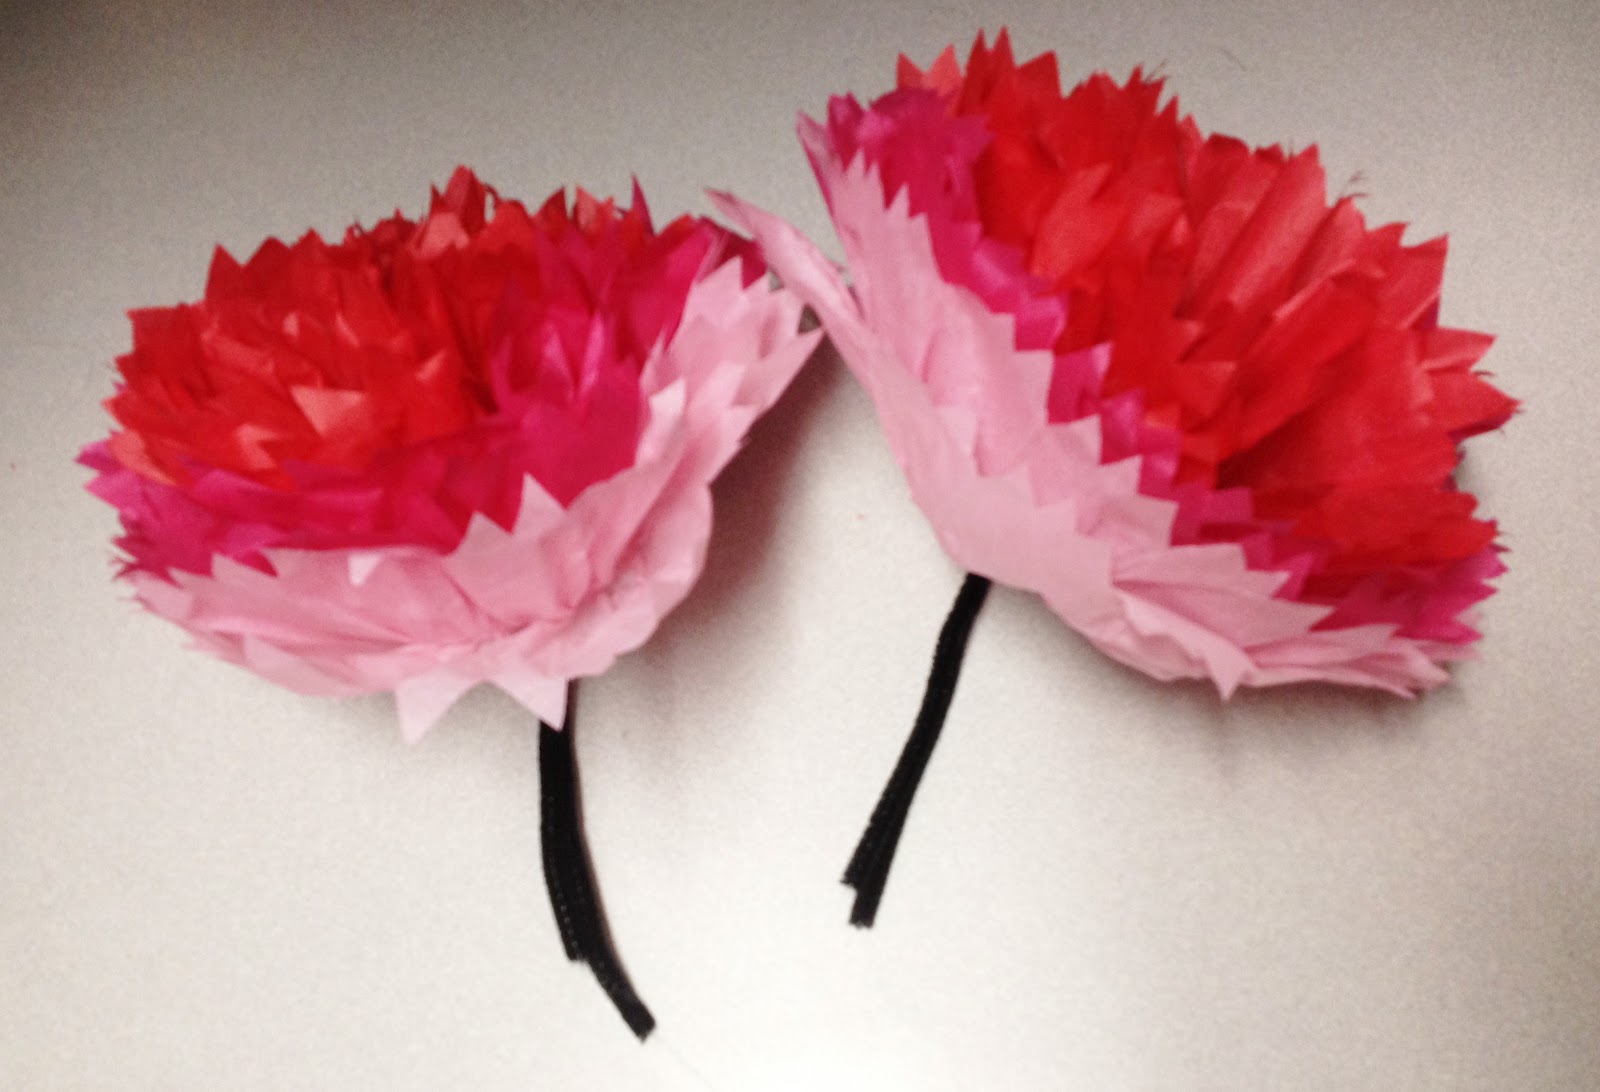
·
Bend one end of a pipe cleaner to form a round nub.
Use the other end to pierce a hole in the centre of the stack of petals; pull
it through to form a stem.
·
At the flower base, scrunch the petals closed so
they resemble a loose pom-pom. Wrap floral tape around the bottom inch of the
flower's base and down the stem. Pull the layers of petals apart.
3. Daffodils:
·
Using two different colours and the pinking shears,
cut two pieces of tissue paper into rectangles whose lengths are 12cm and whose
widths are 6cm. Centre the smaller rectangle on top of the larger one, and
fold, accordion-style.
·
Pinch the folds in the middle; hook the end of a
pipe cleaner over them, and twist it.

·
Fan out the paper until the ends meet. Lift up the
small layer to form the daffodil centre; trim with pinking shears.
·
Wrap floral tape tightly around the bottom inch of
the flower's base and down the stem.

4. Roses:
·
Select
white, pink or red tissue paper.
·
Cut 8 x
10cm squares. Trim off the edges of each square individually -
to make each one slightly unique, as real rose petals are.
·
Stack
4 of the pieces of tissue paper and trim off 3 corners. Repeat with the
other 4 pieces of tissue paper.
·
Make the paper rose petals look more realistic:
o Place
the stack of 4 pieces of tissue paper in your palm.
o Set a
pen on top of the stack near the pointed corner with your other hand.
o Curl
the edge up around the pen.
o With
the pen still in place, scrunch the tissue paper in your palm, so it's not too
smooth.
o Repeat
with the other stack of 4 pieces of tissue paper.
·
Form a tissue paper rose:
o Start
at the centre and roll a petal into a tight whorl.
o Add
the rest of the petals, so the top edges are the same height.
o Flatten
the outer petals away from the centre – so the rose looks like its opening up.
o Twist
the bottom of the petals together underneath the rose.
o Secure the paper rose petals with a pipe
cleaner.
5. Leaves:
For each flower: Cut 4 pieces of
crepe paper 6cm x 4cm, cut out leaf shapes, scrunch and bend into leaf shapes
and attach to flower stems with florist tape.
No comments:
Post a Comment